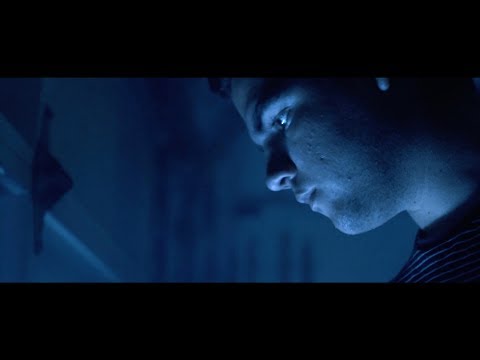
I watched a few videos on YouTube (some of them are embedded below) and actually learned some valuable tips on how to color correct. I took away three essential tips on how to color correct. The first being that Premiere Pro has some basic built-in presets, if you are short on time, to adjust the color of a particular clip or clips using an adjustment layer. The second tip was to go into the "Basic Correction" section of the Lumetri Scopes panel to individually adjust elements such as the Temperature, Exposure, Contrast, and Tint. Last but not least, when it comes to strictly adjusting the colors of an image, it is very effective to use the Curves section on the Lumetri Scopes panel. Since each pixel on a screen are made up of individual red, green, and blue dots. The Curves section allows you to change each red, green, and blue color channel of an image to one's desire. So, if you're looking for a very red image, you simply bring up the reds.
I want to gather as much knowledge as possible before I start editing in order to make that process as smooth as possible. Hopefully these basic color correction tips and tricks will help to improve my shots when my group starts to next week.

No comments:
Post a Comment
Note: Only a member of this blog may post a comment.